Maintenance Guide for Chipper Shredder for Tractor PTO
 Maintenance Guide for Chipper Shredder for Tractor PTO
When you purchase a chipper shredder for tractor PTO, you’re investing in one of the most powerful attachments available for property owners, farmers, and landscapers. These machines are designed to turn branches, brush, and limbs into valuable wood chips and mulch, saving time, reducing waste, and maximizing your tractor’s power. To keep your equipment working efficiently, proper maintenance is crucial. This comprehensive guide covers every aspect of maintaining wood chippers designed for use with your tractor's PTO.
1. Understanding Your PTO Chipper Shredder
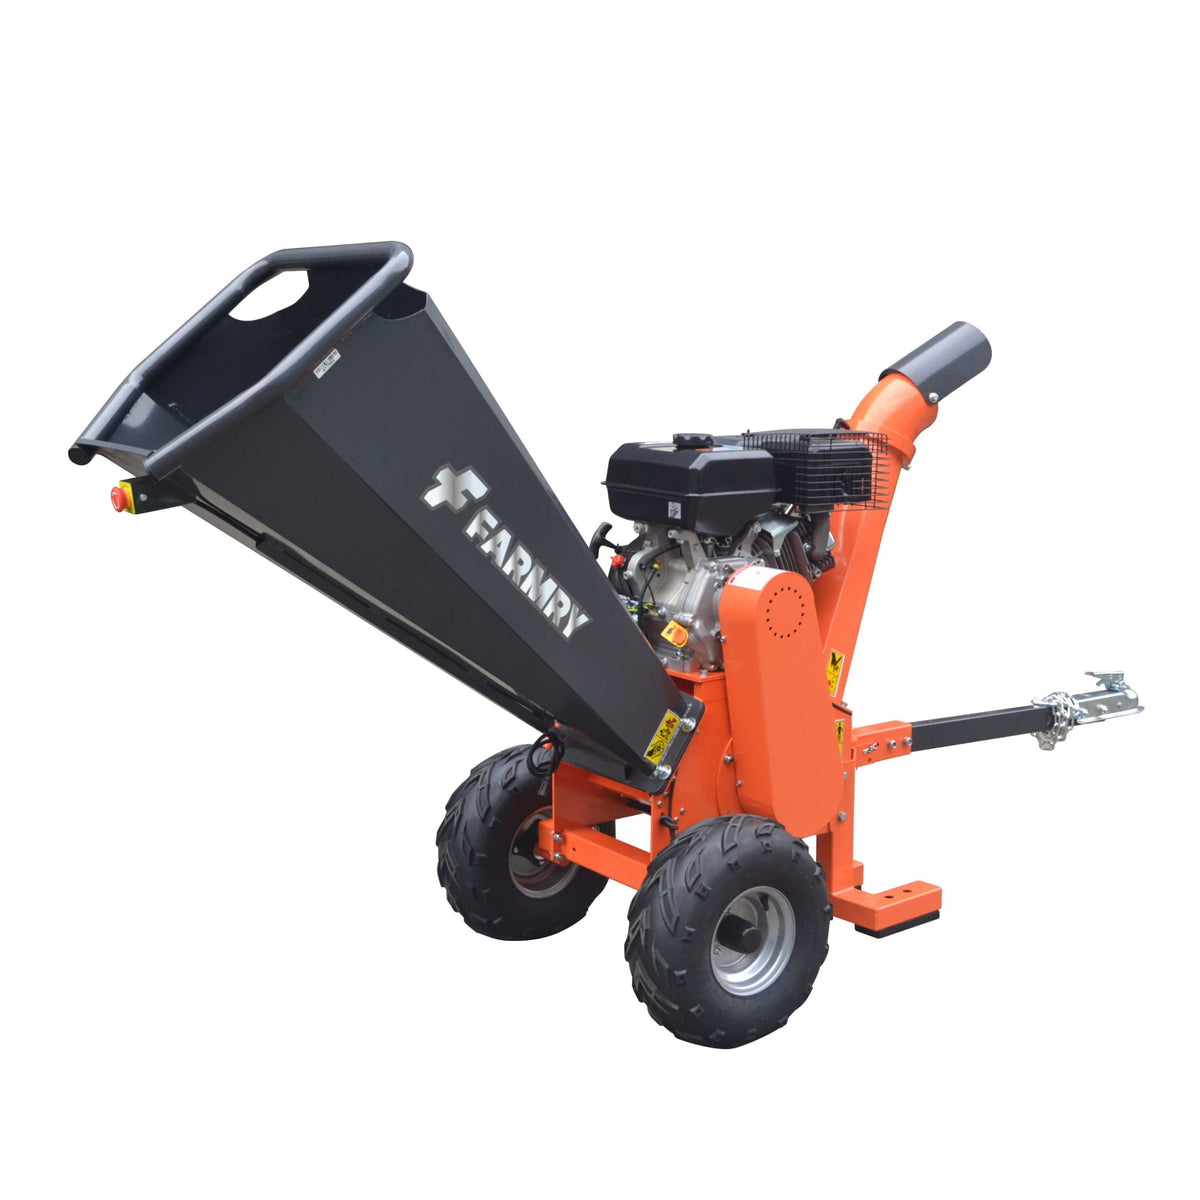
A chipper shredder for tractor PTO works by using the tractor’s driven power (PTO shaft) to spin a rotor or flywheel. This unit can weigh hundreds of pounds depending on its capacity, rotor size, and diameter. The core components include:
-
Rotor knives or knives mounted to the rotor or flywheel for cutting branches.
-
Hopper and chute for feeding material into the chipper and ejecting wood chips.
-
Attachment system to the tractor’s 3-point hitch and PTO shaft.
-
Safety features such as guards and emergency stops.
Choosing the right chipper involves checking compatibility with your tractor’s hp, weight, and capacity. Larger tractors can handle bigger rotor sizes and thicker branches, while compact tractors may be limited to lighter units. For most property owners, a 5 inch PTO wood chipper offers the ideal balance of capacity and compatibility.
2. Why Maintenance Matters
Proper maintenance ensures your chipper operates at peak efficiency, reduces downtime, and extends the life of your equipment. Customers who neglect routine care often face higher cost of replacement parts, reduced capacity, and dangerous failures.
Your team or even family members using the machine will appreciate clear instructions for keeping it in safe working order. And with regular maintenance, you’ll maximize your return on every job.
3. Daily and Weekly Maintenance Checklist
Before Each Use:
-
Check that the chipper is securely attached to the tractor and that the PTO shaft is properly guarded.
-
Inspect the knives or rotor knives for sharpness, cracks, or chips. Dull blades increase work time and reduce chipping quality.
-
Verify that all bolts, items like shear pins, and fasteners are tight.
-
Ensure the hopper and chute are clear of debris.
After Each Use:
-
Clean out the unit to prevent wood sap and chips from hardening.
-
Grease fittings and moving parts as recommended by the manufacturer.
-
Store in a dry, mobile-accessible space if possible, to prevent rust.
Weekly:
-
Inspect the flywheel and rotor size for balance and cracks.
-
Check hydraulic or mechanical feed (if equipped) for leaks and performance.
-
Download or consult the instructions manual for torque settings and lubrication points.
4. Maintaining Rotor Knives and Blades
The rotor knives are the heart of chipping. Keeping them sharp ensures smooth chipping and prolongs the life of the unit.
-
Sharpening: Depending on hours of use and the types of items being chipped, sharpen blades every 8–20 operating hours.
-
Replacement: Keep spare replacement parts on hand, as downtime can be costly when waiting for knives to arrive.
-
Balance: Always replace knives in pairs to maintain balance of the flywheel or rotor.
5. PTO, Tractor, and Compatibility Checks
Your tractor’s PTO hp and weight rating must match the chipper’s requirements. A mismatch can reduce efficiency or even damage the tractor and chipper.
-
Smaller tractors (under 25 hp) are best with compact chippers of 3–4" capacity.
-
Larger tractors (40+ hp) can handle heavy-duty chippers like our 6 inch hydraulic PTO wood chipper with rotor diameters of 24" or more.
-
Always check that the unit is compatible with your tractor’s 540 or 1000 rpm PTO speed.
6. Lubrication, Bearings, and Moving Parts
-
Grease points: Keep bearings greased every 8–10 hours of use.
-
Drive belts or PTO shaft: Inspect for wear, cracks, or misalignment.
-
Chute rotation systems (if included): Lubricate regularly to ensure smooth discharge of wood chips.
7. Safety Maintenance
Wood chippers designed for tractor use come with specific safety features that must remain intact:
-
Never remove guards around the hopper, chute, or flywheel.
-
Replace worn decals or safety labels to ensure people see warnings.
-
Keep safety interlocks functional.
-
Follow lock-out instructions before blade or rotor servicing.
8. Storage and Seasonal Care
When not in use:
-
Store indoors or under cover to reduce cost of rust-related repairs.
-
Drain fuel (if the chipper has auxiliary systems).
-
Check that moisture doesn’t accumulate around knives or the rotor.
-
Use protective covers on the PTO shaft.
9. Troubleshooting Common Problems
-
Clogging in hopper or chute: May mean dull knives, undersized hp, or feeding wet/green material.
-
Excess vibration: Check rotor balance, weight, and ensure knives are matched.
-
Reduced capacity: Indicates dull blades, worn flywheel, or PTO not providing rated power.
-
Difficulty attaching: Ensure your tractor and chipper are a proper match with 3-pt hitch dimensions.
10. Customer Care, Manuals, and Support
Most reputable brands allow you to download manuals and instructions for free from their page. This helps customers with self-maintenance and reduces service cost. Before you checkout or when you first purchased your chipper, confirm:
-
Replacement parts are easy to order.
-
Assist teams are available for technical support.
-
Warranty coverage includes normal wear items like knives and belts.
-
Some suppliers even provide free first-year blade sharpening.
11. Tips to Maximize Efficiency
-
Feed branches butt-end first for smoother chipping.
-
Avoid feeding muddy or stone-covered branches that dull knives.
-
Alternate thick and thin items to reduce load on the rotor.
-
Don’t overload your tractor beyond its hp rating.
-
Keep an eye on hours logged—schedule service before a big job.
12. Making the Right Choice
The best chipper shredder for tractor PTO is the one that fits your property, your tractor’s hp, and your maintenance habits. Some products are marketed as low-maintenance, but all require regular check and care. Your choice of chipper should come with clear manuals, easy replacement parts, and a supplier ready to assist. For a full range of options, see our PTO wood chipper collection.
Conclusion
Keeping your PTO chipper shredder in peak condition ensures maximum efficiency, longer life, and safer operation. From sharpening knives and balancing the rotor, to greasing bearings and storing properly, these steps help customers get the most from their equipment. Whether you’re a homeowner, a homesteader, or a landscaping professional, the right care routine will help you handle the toughest jobs while keeping costs down.
Remember: maintenance isn’t just about keeping the machine running—it’s about protecting your team, maximizing return on investment, and making every word of your owner’s manual count. With the right habits, your chipper shredder will keep turning branches into mulch and wood chips season after season. If you’re ready to upgrade or need more information, browse all wood chippers here.


