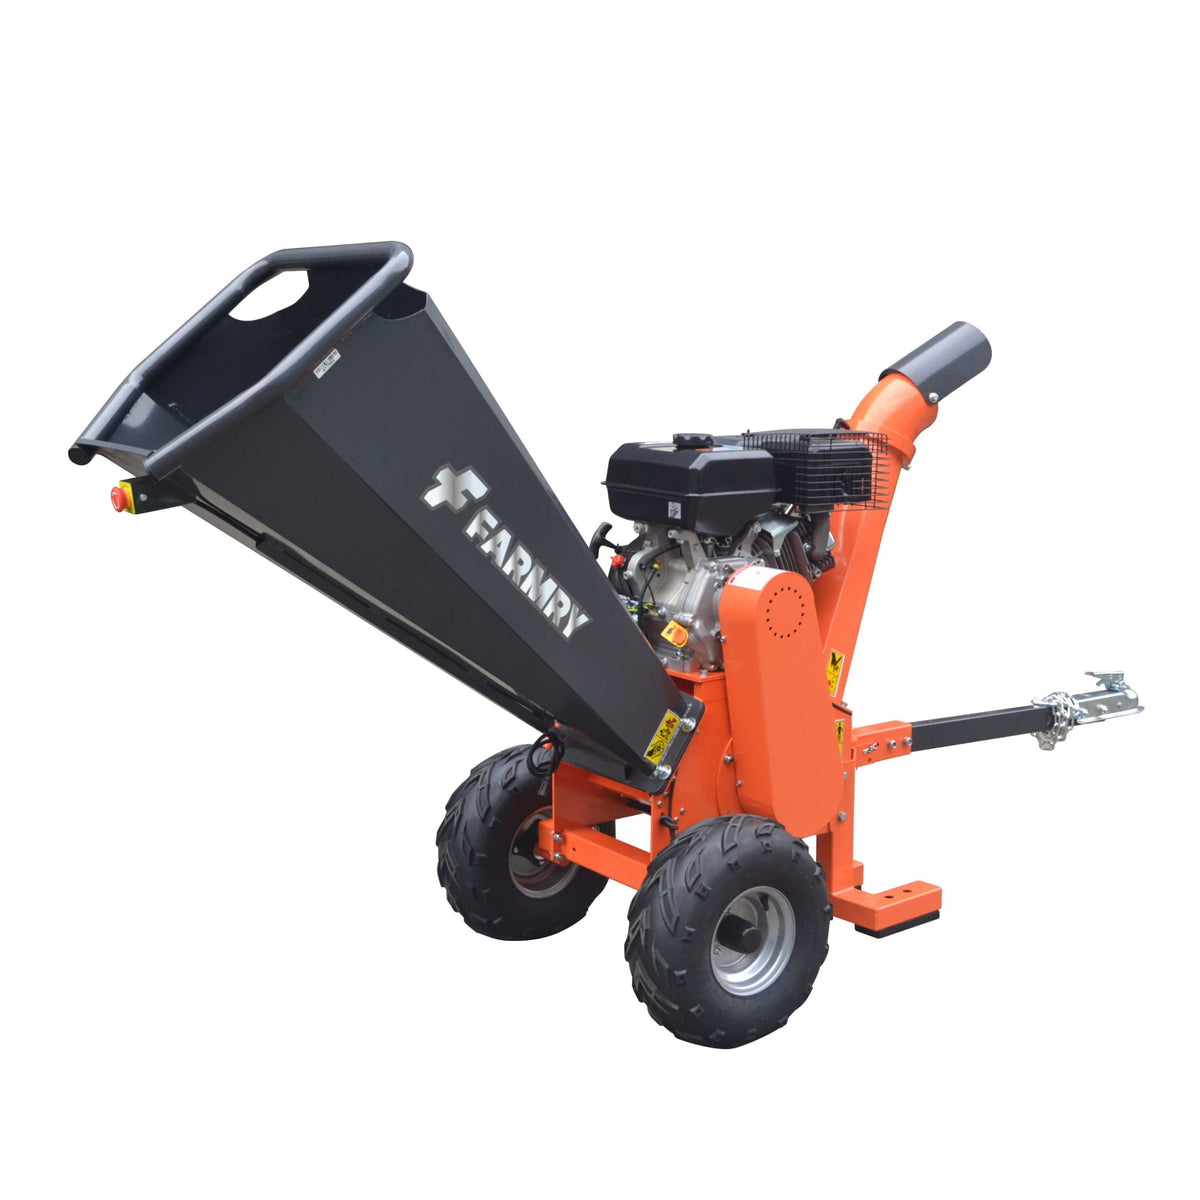
How to Use a Wood or Limb Chipper: Use & Safety Tips
 How to Use a Wood or Limb Chipper: Use & Safety Tips
If you’ve ever looked out at your property after pruning trees, clearing dead trees, or tidying up your lawn, you’ve probably wondered what to do with all those branches, twigs, and logs. Piling them up isn’t attractive, burning them can be unsafe or restricted, and hauling them away is time-consuming. That’s where the wood chipper comes in.
Learning how to use a wood chipper isn’t just about starting the machine and feeding branches — it’s about mastering the wood chipping process, understanding wood chipper safety tips, and using proper techniques to protect yourself, your work area, and your equipment.
In this comprehensive guide, you’ll learn the step-by-step wood chipper operation, safety best practices, and how to turn branches into valuable wood chips for mulch, compost, and landscaping.
1. Understanding the Wood Chipper
Before we talk about safe operation, let’s start with the basics. A wood chipper is a machine designed to break down branches, green limbs, and dry limbs into small, manageable pieces called wood chips. These chips can be reused in your garden, compost pile, or as mulch to protect soil moisture and regulate heat around plants.
Types of Wood Chippers
-
Electric Chippers – Compact, lightweight, ideal for smaller branches and light garden cleanup.
-
Gas-Powered Chippers – More powerful, can handle logs and dry and green limbs.
-
PTO Chippers – Designed to connect to a tractor’s power take-off. These are common for rural properties with lots of trees.
Main Components
-
Hopper – The opening where you feed branches and materials.
-
Chipper Blades – The sharp blades that slice and shred the wood.
-
Engine Switch – Powers the machine on or off.
-
Feed Mechanism – Many machines pull in materials automatically.
2. Preparing for Safe Operation
The first step in the chipping process is not turning on the machine—it’s preparing the work zone.
Clear the Work Area
-
Remove tripping hazards like hoses, tools, and loose stuff.
-
Choose level ground or a flat surface to set up the chipper.
-
Ensure there’s enough space to move around without bumping into potential hazards.
Check the Machine
-
Make sure chipper blades are sharp.
-
Verify the engine switch works properly.
-
Inspect for loose parts or debris in the hopper.
3. Safety Gear You Must Wear
Operating a wood chipper without the right safety gear is asking for trouble.
Essential protection includes:
-
Safety Glasses – Protect eyes from flying chips or debris.
-
Ear Protection – Most wood chippers are loud enough to cause hearing damage.
-
Gloves – Protect hands from splinters and rough materials.
-
Sturdy Boots – Give good grip and protection for your feet.
-
Secure Long Hair – Loose hair can get caught in the machine.
4. Preparing Your Materials
The wood chipping process works best when you prepare your materials in advance.
-
Separate Dry and Green Limbs – Green material can be stringy and may require slower feeding.
-
Remove Dirt and Weeds – Keeps blades sharp and prevents jams.
-
Cut Larger Logs – Ensure they fit the hopper opening.
5. How to Use a Wood Chipper: Step-by-Step
Step 1: Position the Machine
Place your chipper on level ground, with the hopper facing your work area. Keep the work zone free of unnecessary stuff.
Step 2: Start the Engine
-
For gas models, use the engine switch to start.
-
For PTO chippers, connect to the tractor and engage PTO slowly.
Step 3: Feed the Material
-
Use proper technique: Hold branches at the thicker end and let the machine pull them in.
-
Feed smaller branches first to warm up the blades.
-
Alternate between dry and green limbs to keep the chipping process smooth.
Step 4: Maintain Safe Operation
-
Stand to the side of the hopper.
-
Never reach into the machine.
-
If a jam occurs, switch off the engine before clearing.
6. Wood Chipper Safety Tips During Operation
-
Watch your footing — avoid tripping hazards.
-
Maintain a clean work area.
-
Keep bystanders and pets out of the work zone.
-
Don’t force materials into the machine — let it pull naturally.
-
Be mindful of long hair, jewelry, and loose clothing.
7. What to Do With All Those Chips
Once the chipping process is complete, you’ll be left with a pile of wood chips. Don’t just toss them — here are a few uses:
-
Mulch for Garden Beds – Retains moisture, controls weeds, and moderates soil heat.
-
Compost Pile – Wood chips balance green material like kitchen scraps.
-
Landscaping – Create attractive walkways or lawn borders.
-
Winter Protection – Insulate plant roots against frost.
8. Common Mistakes to Avoid
-
Using a dull blade — slows down the wood chipping process.
-
Operating on uneven ground — increases tipping risk.
-
Overloading the hopper — can break the machine or cause jams.
9. Maintenance Best Practices
-
After each session, remove any debris from the hopper.
-
Inspect and sharpen chipper blades regularly.
-
Store the machine in a dry location.
-
Follow manufacturer’s maintenance schedule for oil changes, lubrication, and belt checks.
10. Final Thoughts
A wood chipper is one of the most valuable machines for property owners, landscapers, and gardeners who need to manage branches, logs, and twigs. Knowing how to use a wood chipper with proper technique, wearing the right safety gear, and keeping your work area free from potential hazards ensures you’ll chip efficiently and safely.
By following these wood chipper safety tips, you’ll turn what was once a messy pile of debris into useful mulch, compost, or attractive landscaping material — all while protecting yourself, your property, and your machine.


