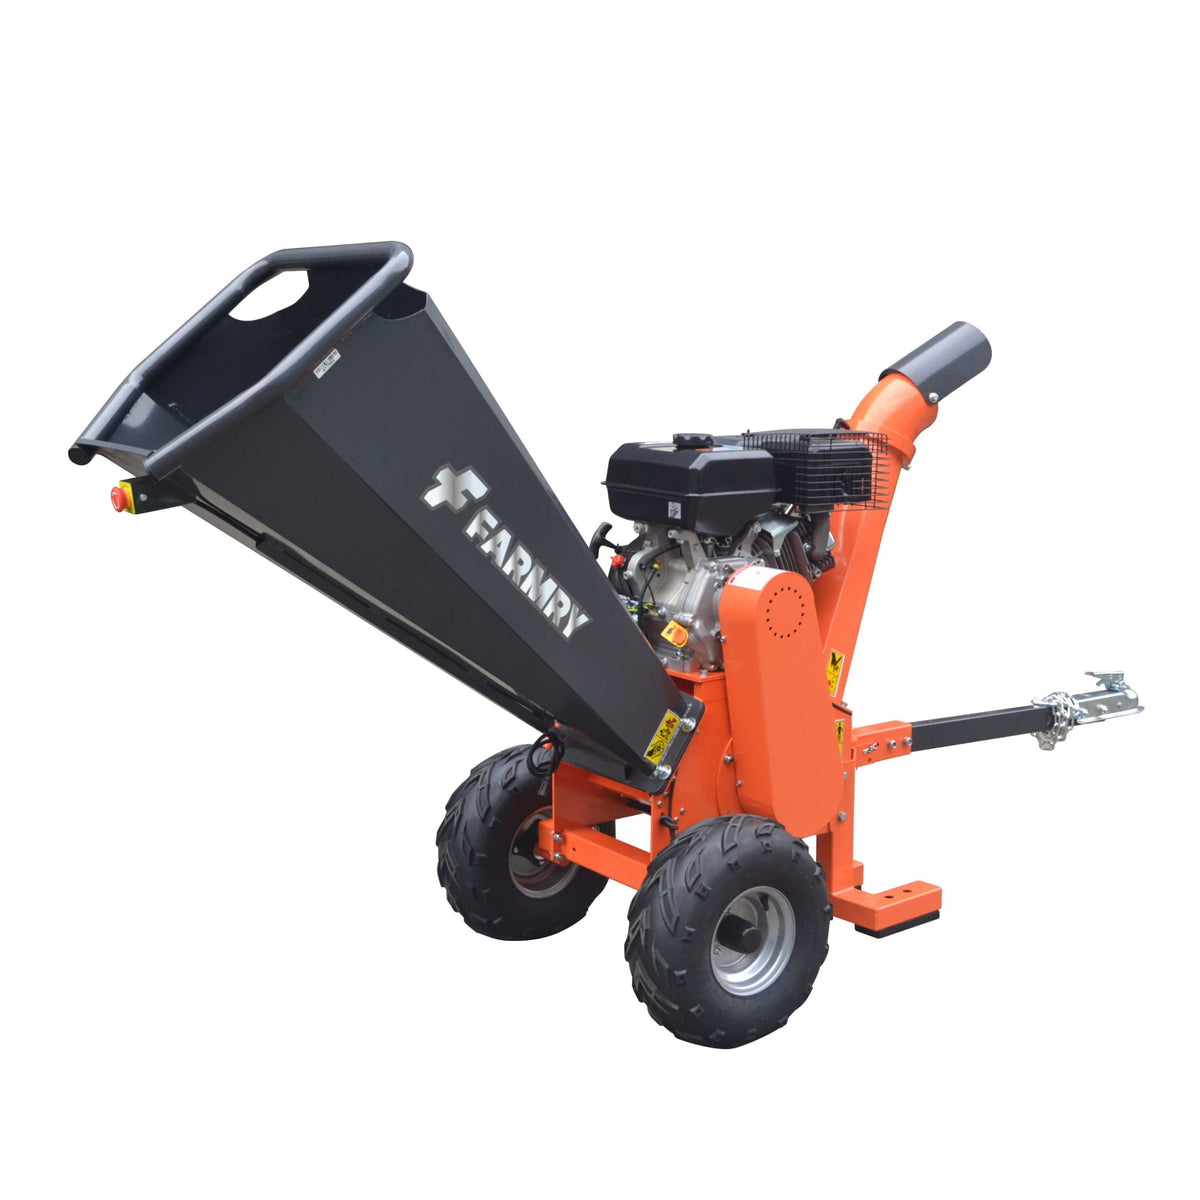
How to Attach and Use a Tackor Chipper Attachment for Your Tractor
 How to Attach and Use a Tackor Chipper Attachment for Your Tractor
If you’ve recently purchased a tractor chipper attachment like the Tackor model, you’re likely ready to turn piles of branches and brush into usable wood chips. This guide will walk you through how to attach, use, and maintain your Tackor wood chipper for optimal performance, while covering key safety tips, specifications, and maintenance needs to keep your equipment in top shape.
Step 1: Check Compatibility and Safety
Before you begin, check the PTO (power take-off) requirements for your tractor chipper attachment. Most Tackor units require a tractor with at least 20–50 horsepower (HP) depending on the model. Make sure your tractor's hp range matches the specifications of the chipper.
Also, read the manufacturer's instructions and wear proper safety tools like goggles and gloves. Injuries can happen quickly if safety isn’t a top priority.
Step 2: Mount and Attach the Chipper
To mount the attachment, align the Tackor unit with your tractor’s 3-point hitch. Secure it using the pins, and make sure the weight of the chipper is supported evenly. Next, connect the PTO shaft to the tractor, ensuring all connections are locked into place.
Double-check that the rotor, blades, and chute are clear of debris or loose material. This helps prevent clogging and damage during operation.
Step 3: Start and Control the Machine
Start your tractor, engage the PTO, and gradually increase the power. Keep the machine at a consistent RPM based on the manufacturer’s recommendation.
Feed branches, leaves, and small logs into the chute—cut them to a manageable size and keep an eye on the diameter the chipper can safely handle (usually around 3" to 6" depending on your unit). For safety, never use your hands to push material—use a push tool to avoid potential injury.
The Tackor chipper's reversible blades and self-feeding mechanism help maintain smooth operation. However, always watch for clogging, especially with wet or green wood.
Step 4: Blade Sharpening and Maintenance
Regular blade sharpening is key to maintaining efficient cut quality and machine life. Tackor blades are reversible, allowing you to flip them before needing a full replacement. Many customers recommend keeping an extra set of blades on hand for faster turnaround.
Also, clean the chute, inspect the rotor, and grease all moving parts every few hours of use to reduce wear. Following the instructions provided will prolong your machine’s performance and minimize costly repairs.
Step 5: Choosing the Right Model
When comparing models for sale, look at factors like cutting diameter, mobile design, weight, PTO requirements, and shredder functionality. If you're unsure, consult a dealer or read reviews from people who’ve already bought and used the Tackor chipper.
Final Thoughts
Using a Tackor tractor chipper attachment is a game-changer for landowners and small farms. With proper setup, regular maintenance, and safe operating practices, this attachment will help you handle cleanup tasks efficiently for years. Customers love the Tackor line for its durability and value—and with the right care, you will too.


