Skip to content


🌿 Easiest Way to Clean Up Stump Grindings in 2025
Removing a tree is just the beginning. If you’ve recently finished stump grinding, chances are you’re now staring at a messy pile of tree stump grindings. It’s dusty, chunky, and far from “landscaped.” But don’t worry—you don’t need to hire a stump grinding service again. The good news is, cleaning up the debris is a lot simpler than it looks.
In this 2025 guide, we’ll walk you through how to efficiently clean up stump grindings, reclaim your yard, and prep the soil for your next project—whether that’s a garden, fresh lawn, or a new fence.
🌲 Why Clean Up Tree Stump Grindings?
After grinding, what’s left behind isn’t just dust. It’s a mix of wood chips, soil, and fine debris from the roots—which can cause:
-
Fungal growth or termite nests
-
Delayed plant growth due to nitrogen absorption
-
Unsafe mounds or soft areas in the yard
-
A messy surrounding area that’s tough to mow or seed
In short, you can’t ignore all the chips left over. But with a few tools and some know-how, you’ll have your yard looking great again in no time.
🧰 What You'll Need for the Cleanup
Before we jump into the process, gather a few basic tools:
-
Rake and shovel
-
Wheelbarrow or loader bucket (Farmry offers tractor attachments that work great for this!)
-
Gloves and safety glasses
-
Tarp (optional)
-
Topsoil or compost
🛠️ Step-by-Step: How to Clean Up Stump Grindings the Easy Way
Step 1: Let the Dust Settle
After grinding, let the grindings dry for a day or two. Wet debris can be heavier and harder to move.
Step 2: Rake and Scoop
Use a rake to pull the grindings into a pile. Start shoveling them into a wheelbarrow. If you’re dealing with multiple trees or a large stump, you may want a loader attachment like those available from Farmry for even faster results.
Step 3: Decide What to Do With the Grindings
You’ve got options:
-
Use as mulch: Spread a thin layer around shrubs or walkways (but avoid flower beds—grindings steal nitrogen).
-
Compost: Mix grindings with more nitrogen sources (like green leaves or manure) to balance the carbon-rich wood.
-
Haul away: For instant results, remove the grindings from your property.
If you choose composting, you’ll create a long-term soil booster that can add nutrients back to your garden or lawn.
Step 4: Clean the Stump Hole
The leftover stump hole is often uneven, sunken, or full of debris. Clear it out completely and break up any leftover roots.
Then:
-
Ensure the hole is at ground level
-
Fill it with clean soil, compost, or a soil-sand mix
-
Rake the area flat so it blends with the surrounding area
Step 5: Restore the Area
Once the hole filled is complete, it’s time to restore beauty and utility:
-
For lawns: Sprinkle high-quality grass seed and water regularly
-
For gardens: Wait 2–3 weeks and then plant
-
For structural use: Add gravel or concrete footing if you plan to build a fence or patio
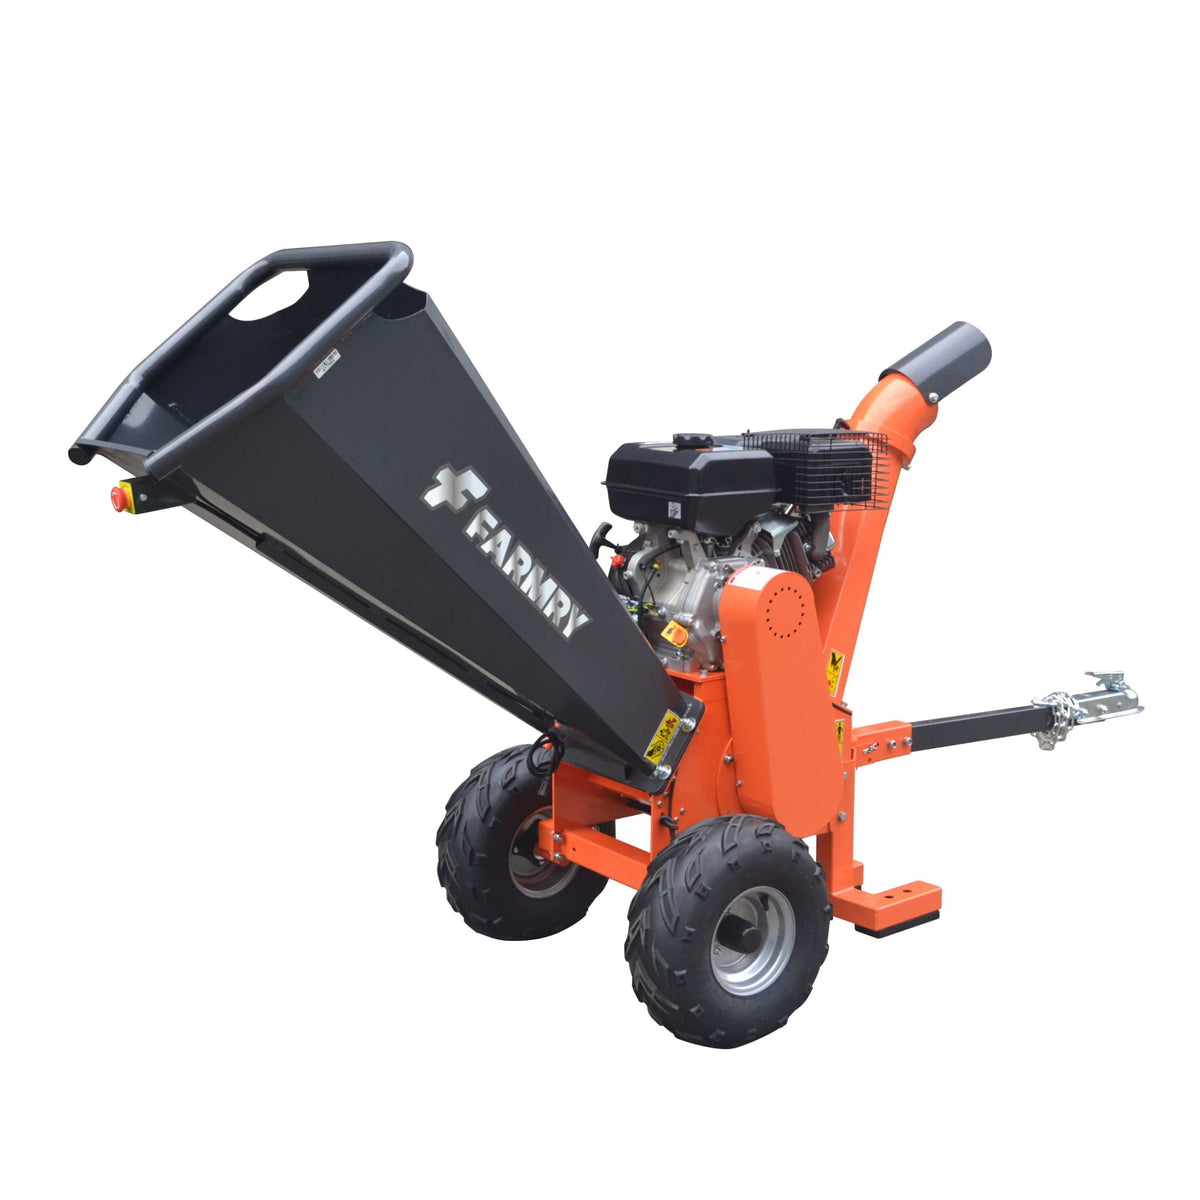
Want to shortcut the entire cleanup process? Consider using one of Farmry’s tractor-friendly stump grinder models. These machines are not only built to remove stumps efficiently but also minimize mess with precision grinding—making your cleanup easier from the start.
❗ Common Mistakes to Avoid
-
Leaving grindings in the hole: Creates sinkholes and mold
-
Using grindings as mulch without composting: Hurts new plant growth
-
Ignoring deep roots: Can lead to regrowth or uneven soil
✅ Final Thoughts: From Stump to Soil in One Weekend
With the right tools and steps, cleaning up after stump grinding doesn’t have to be a headache. Whether you want to replant, regrade, or redesign, removing grindings properly gives you a clean slate.
Simply add a bit of elbow grease—or let Farmry’s equipment lighten the load—and you’ll turn a messy mound into a thriving landscaping opportunity.
📌 Ready to Simplify Your Next Project?
Explore Farmry’s Stump Grinders Collection today. Our units are designed to make grinding—and cleaning up afterward—faster, smoother, and smarter in 2025.